
Table of Contents
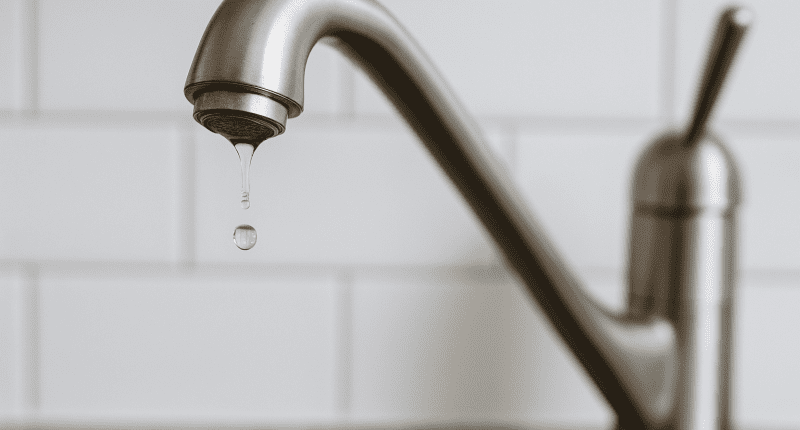
A dripping kitchen faucet isn’t just annoying; it’s wasteful and can add unnecessary dollars to your water bill. That persistent drip, drip, drip might seem like a minor inconvenience, but even a slow leak can waste thousands of gallons of water per year.
The good news? Many homeowners can tackle this common plumbing issue with basic tools and a little patience. Let me walk you through exactly how to fix a leaky kitchen faucet and restore peace to your home.
Understanding Why Your Faucet Leaks
Before diving into repairs, it helps to understand what’s causing the problem. Kitchen faucets leak for several common reasons: worn-out washers, damaged O-rings, corroded valve seats, or faulty cartridges.
The type of kitchen faucet installation you have; compression, ball, cartridge, or ceramic disk, will determine which parts are likely culprits. Most leaks occur because rubber components have deteriorated over time from regular use and mineral deposits in the water.
Tools and Materials You’ll Need
Gather these items before starting your repair:
- Adjustable wrench or basin wrench
- Screwdrivers (both flathead and Phillips)
- Allen wrenches (hex keys)
- Replacement parts (washers, O-rings, or cartridge)
- Plumber’s grease
- Towels or rags
- Flashlight
- Bucket or container
Having everything ready beforehand makes the job much smoother and prevents multiple trips to the hardware store.
How Do I Fix a Leaky Kitchen Faucet? Follow These Steps
Step 1: Turn Off the Water Supply
Look under your sink for the shut-off valves; usually two small knobs or handles. Turn them clockwise to close. Once closed, turn on the faucet to release any remaining pressure and water in the lines. This crucial step prevents a messy flood during your repair.
Step 2: Plug the Drain
Cover your sink drain with a rag or stopper. Small screws and parts have a sneaky habit of disappearing down drains, and retrieving them can turn a simple fix into a frustrating ordeal.
Step 3: Remove the Faucet Handle
This step varies by faucet type, but most handles are secured with a screw hidden under a decorative cap or button. Use a flathead screwdriver to pop off the cap, then remove the screw with the appropriate screwdriver or Allen wrench. Gently lift off the handle. If it’s stuck, try wiggling it slightly or applying a bit of penetrating oil.
Step 4: Inspect and Remove Internal Components
Once the handle is off, you’ll see the faucet’s internal mechanism. For compression faucets, you’ll find a packing nut and stem. For cartridge faucets, there’s a cartridge that lifts out. Ball faucets have a rounded cap and cam assembly. Take a photo with your phone before disassembling further; this makes reassembly much easier.
Step 5: Replace Worn Parts
Examine all rubber components closely. Look for:
- Cracked or flattened washers
- Stretched or damaged O-rings
- Corroded metal parts
- Mineral buildup on seals
Replace any worn pieces with exact matches. Taking the old parts to your local hardware store ensures you get the right size and type. If you’re unsure about the faucet model, check for a brand name on the faucet base or look up the manufacturer online.
Step 6: Clean and Reassemble
Before putting everything back together, clean all components with white vinegar to remove mineral deposits. Apply a thin layer of plumber’s grease to O-rings and moving parts; this helps create a better seal and makes future repairs easier. Reassemble in reverse order, being careful not to overtighten, which can damage components or crack the faucet housing.
Step 7: Test Your Repair
Slowly turn the water supply back on while watching for leaks under the sink. Once the valves are fully open, test the faucet. Turn it on and off several times, checking for drips from both the spout and around the base. If you still see leaking, you may need to tighten connections slightly or verify all parts are properly seated.
When to Call a Professional
While many faucet leaks are DIY-friendly, some situations call for professional expertise. If you’ve replaced parts but the leak persists, if you notice corrosion in the faucet body, or if you’re dealing with an older or high-end faucet model, it might be time to call a professional Downers Grove plumber. Additionally, if you discover leaks in the supply lines or connections under the sink, a professional plumber can assess whether you need more extensive repairs.
Get Expert Help When You Need It
Successfully fixing a leaky faucet is satisfying, but not every plumbing problem is suited for DIY repair. If your kitchen faucet issues persist or you’d rather leave it to the professionals, Plumbing Pros is here to help.
With over 20 years of experience serving Downers Grove, IL, our top-rated plumbers provide expert plumbing solutions with a 1-year workmanship warranty. We offer convenient financing through Wisetack and discounted prices for military members, first responders, and teachers. For urgent issues like gas leaks or flooding, we’re available 24/7. Call Plumbing Pros today and let our experienced plumbers restore your peace of mind.


